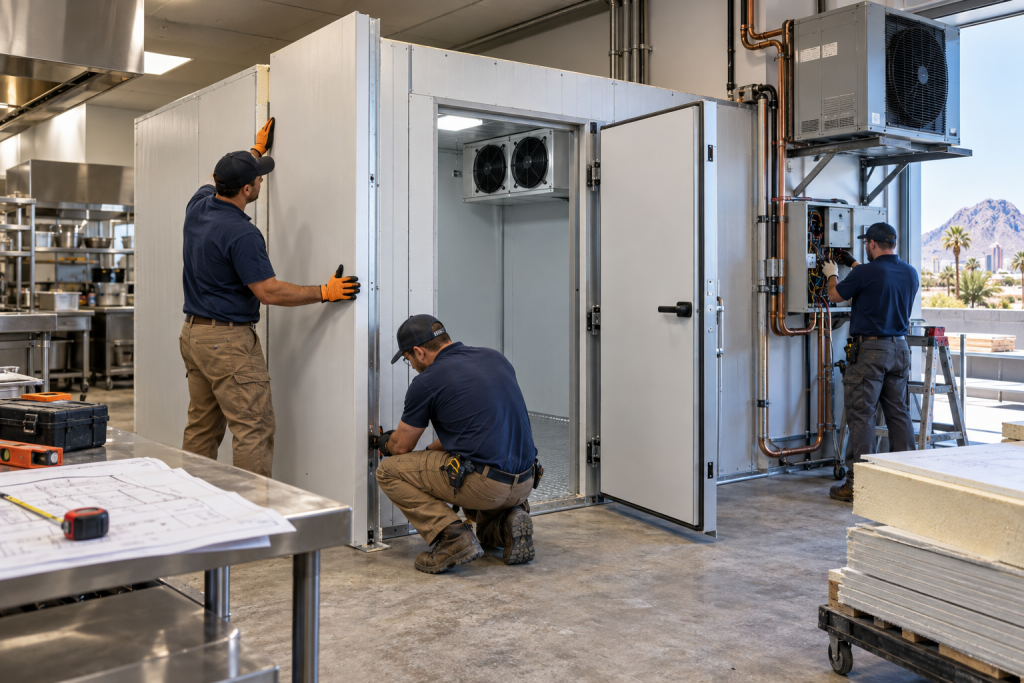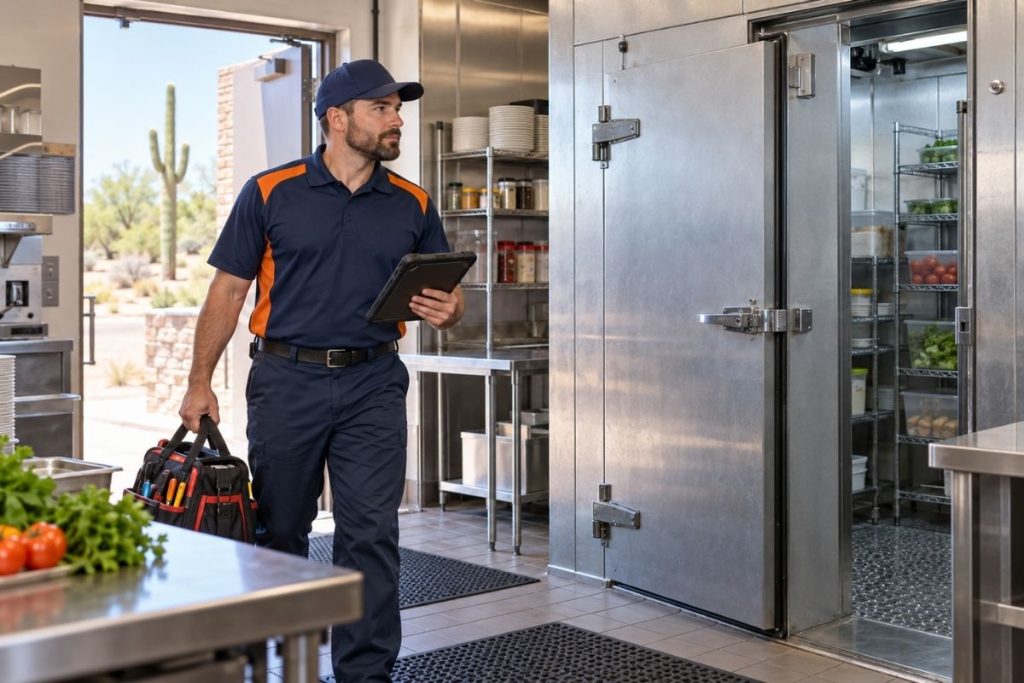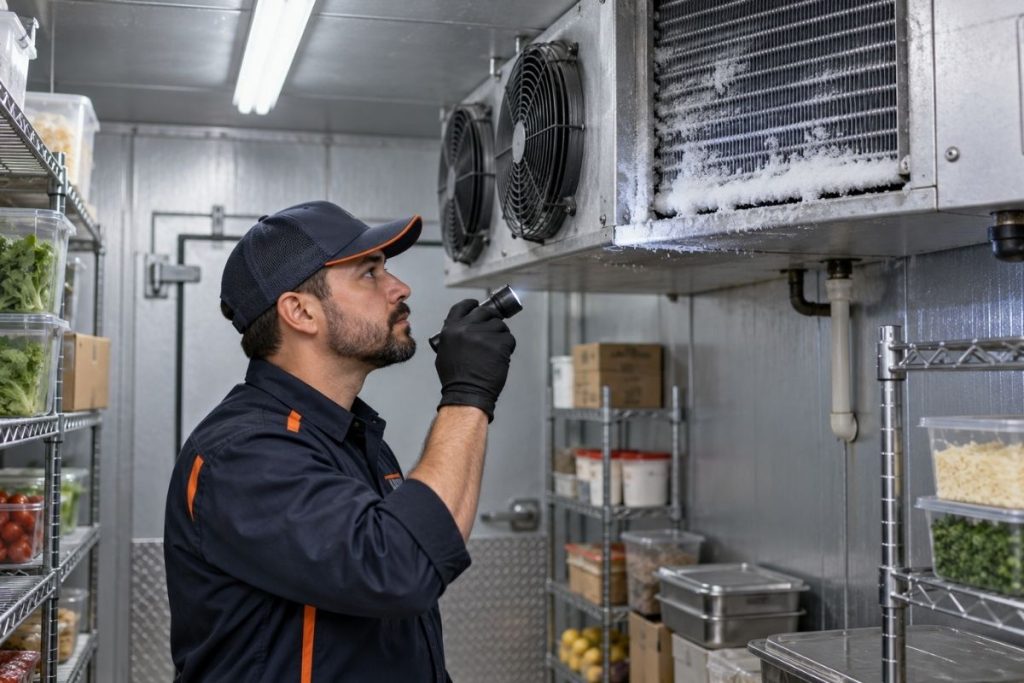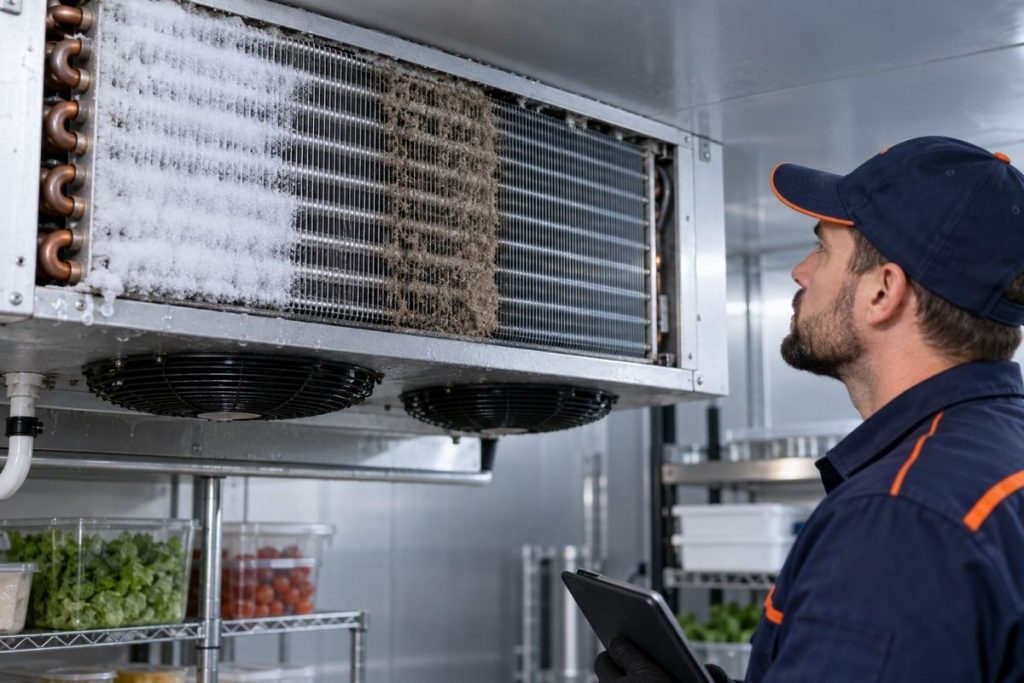
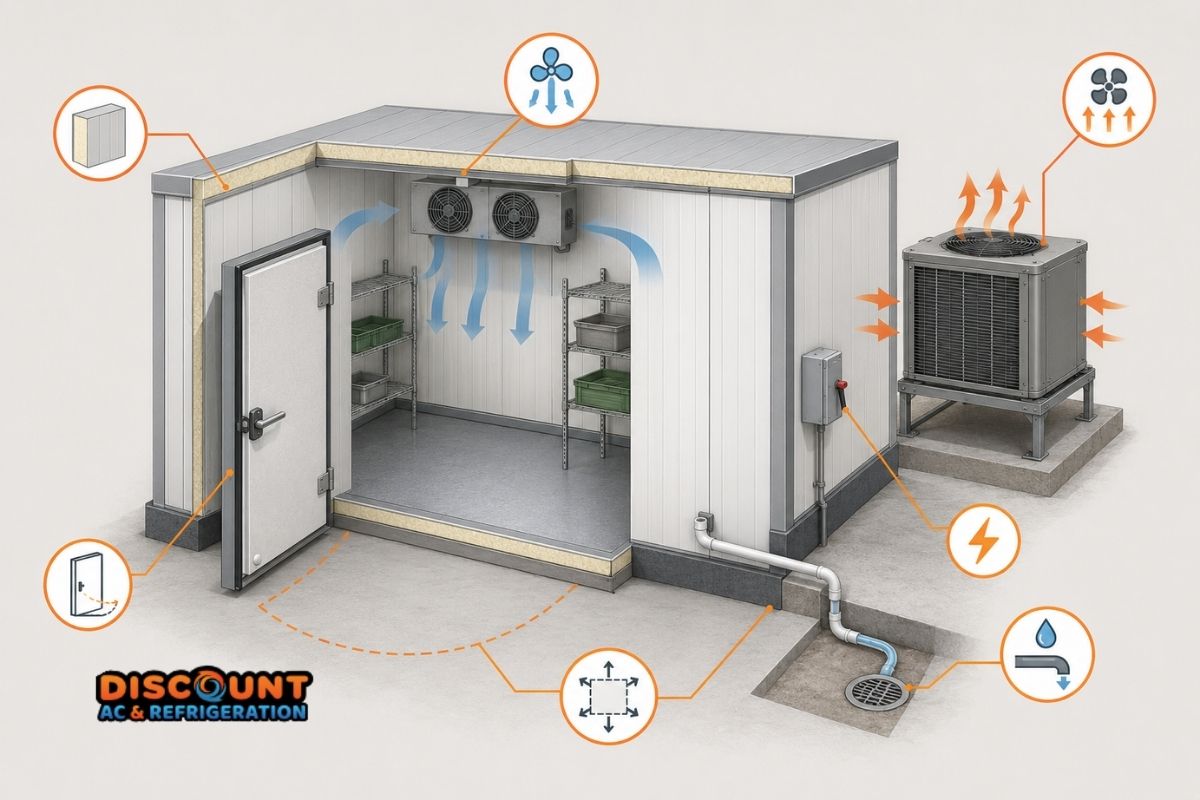
A successful walk in cooler installation begins well before insulated panels arrive at your Phoenix Metro business. The room size, product load, door traffic, electrical capacity, drainage route, condenser location, and delivery path all affect performance. When those details are addressed during planning, the finished system is easier to operate, maintain, and expand.
This checklist helps restaurants, grocery stores, commercial kitchens, florists, hospitality facilities, and other Arizona businesses prepare for a new walk-in cooler. It also explains which decisions should be reviewed with a refrigeration contractor, electrician, plumber, architect, and local permitting authority before equipment is ordered.
Start With the Business Requirements
The first planning meeting should define what the cooler must support. A restaurant receiving chilled ingredients twice a week has different needs from a market loading warm beverages every afternoon. Document the products, receiving temperature, daily volume, holding time, shelving layout, peak occupancy, and expected growth.
Calculate usable capacity—not just floor area
Shelving, evaporator clearance, door swing, aisles, and safe air circulation reduce the volume available for inventory. A crowded box can restrict airflow and create temperature differences even when the refrigeration system is operating. Leave working room for staff and service access rather than treating every square foot as storage.
Define the design temperature
Confirm the appropriate product temperature and operating range before sizing equipment. The target should be based on the stored products and applicable food-safety requirements, not a generic setpoint. If you are reviewing normal operating ranges, see our guide to what temperature a walk-in cooler should be.
Estimate the Actual Refrigeration Heat Load
Square footage alone does not determine refrigeration capacity. A proper load calculation considers heat moving through walls, ceiling, and floor; warm product entering the box; people working inside; lighting and fan motors; infiltration through open doors; and ambient conditions around the enclosure and condensing unit.
Phoenix Metro heat matters most when equipment is installed outdoors, on a roof, or in a poorly ventilated mechanical area. Direct sun, restricted condenser airflow, and high surrounding temperatures can reduce heat rejection. The installation plan should therefore use realistic local design conditions and manufacturer requirements—not a mild-weather assumption.
| Planning item | Information to document | Risk if overlooked |
|---|---|---|
| Storage and product load | Product type, volume, entering temperature, delivery schedule, future growth | Slow pull-down, inadequate capacity, crowded airflow |
| Site conditions | Indoor/outdoor location, sun exposure, floor level, nearby heat sources | Higher load, condensation, structural or clearance problems |
| Electrical | Voltage, phase, breaker capacity, disconnects, lighting and alarms | Delays, nuisance trips, unsafe or noncompliant connections |
| Drainage | Evaporator drain route, pitch, termination, freeze protection if applicable | Water leaks, backups, ice, sanitation concerns |
| Door and access | Door swing, aisle width, ramps, carts, delivery and service path | Workflow conflicts, damaged doors, inaccessible equipment |
| Ventilation | Condenser clearance, discharge-air path, equipment-room heat removal | High head pressure, reduced efficiency, shortened component life |
| Permits | Local building, mechanical, electrical, plumbing and health review | Failed inspections, redesign, opening delays |
Evaluate the Installation Site
Floor, walls, ceiling, and structure
The surface must be level, stable, and appropriate for the combined weight of panels, refrigeration equipment, shelving, carts, and inventory. Determine whether an insulated floor is included and how transitions or ramps will affect traffic and sanitation. Overhead piping, sprinklers, lighting, beams, and ceiling height must be mapped before final dimensions are approved.
For outdoor installations, review weather exposure, wind, drainage around the box, roof or canopy needs, and the treatment of penetrations. Panel joints and vapor control are critical because warm, humid air entering the envelope can contribute to condensation and insulation damage.
Keep the cooler away from avoidable heat
Cooking lines, ovens, dish areas, exterior walls receiving strong sun, and unconditioned loading areas can add to the load. Sometimes operational flow requires a difficult location; in that case, the heat load and envelope design should account for it rather than assuming indoor conditioned conditions.
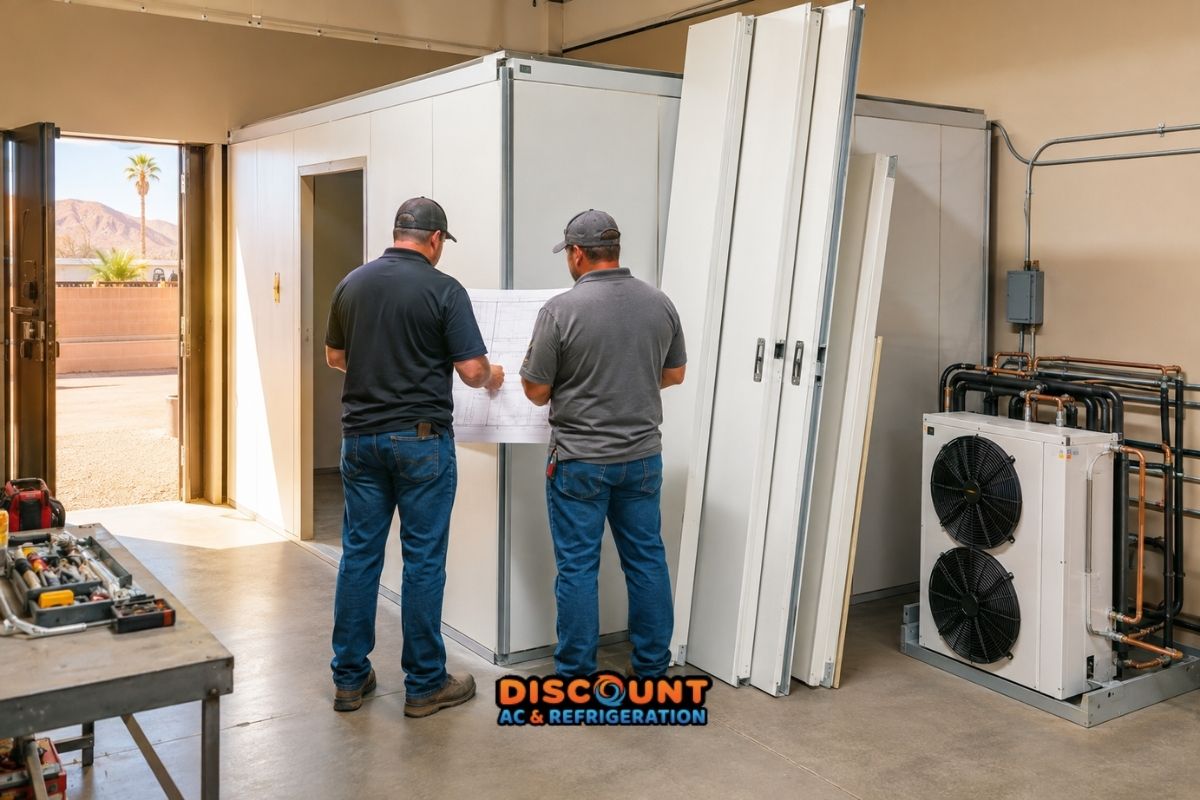
Coordinate Panels, Insulation, and the Door
Confirm panel thickness, insulation performance, finishes, floor construction, cam-lock layout, penetrations, and vapor sealing with the manufacturer and installer. Field-cut openings should be planned carefully so they do not weaken panels or create air and moisture paths.
Plan the door around real traffic
Door width and swing direction should suit carts, deliveries, shelving, and adjacent workstations. Review the threshold, floor transition, closer, hinges, gasket, sweep, latch, and emergency release. High-traffic operations may benefit from strip curtains or operational controls, but these do not compensate for a door that is undersized or poorly located.
Door alignment influences air leakage and energy use. Our article about walk-in cooler door seal problems explains how gaskets, hinges, and closers interact after installation.
Plan Electrical Power and Controls Early
The refrigeration equipment, evaporator fans, heaters where applicable, interior lighting, door heaters, controls, alarms, and monitoring devices may have separate electrical requirements. Verify voltage, phase, full-load amperage, breaker and conductor sizing, disconnect locations, and available panel capacity using the selected equipment data.
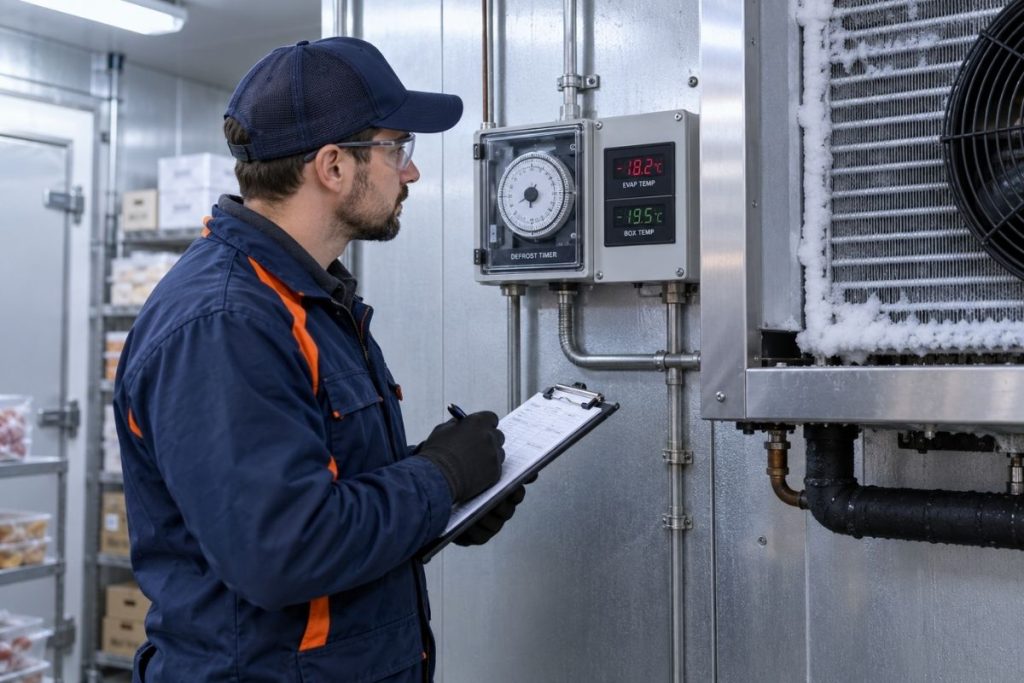
Electrical work should be coordinated by qualified professionals and inspected as required. Do not wait until panel assembly to discover that a service upgrade, new circuit, conduit route, or control connection is needed. Decide where the temperature controller and alarm display will be accessible without interfering with doors or wet-cleaning areas. For control-related operating issues, see our guide to walk-in cooler thermostat problems.
Design the Condensate Drainage Route
Identify the evaporator drain location, pipe route, required pitch, trap requirements, termination point, cleanout access, and protection from damage. The drainage design must follow equipment instructions and local plumbing and sanitation requirements. Avoid routing that creates long flat runs, inaccessible traps, or discharge across walking surfaces.
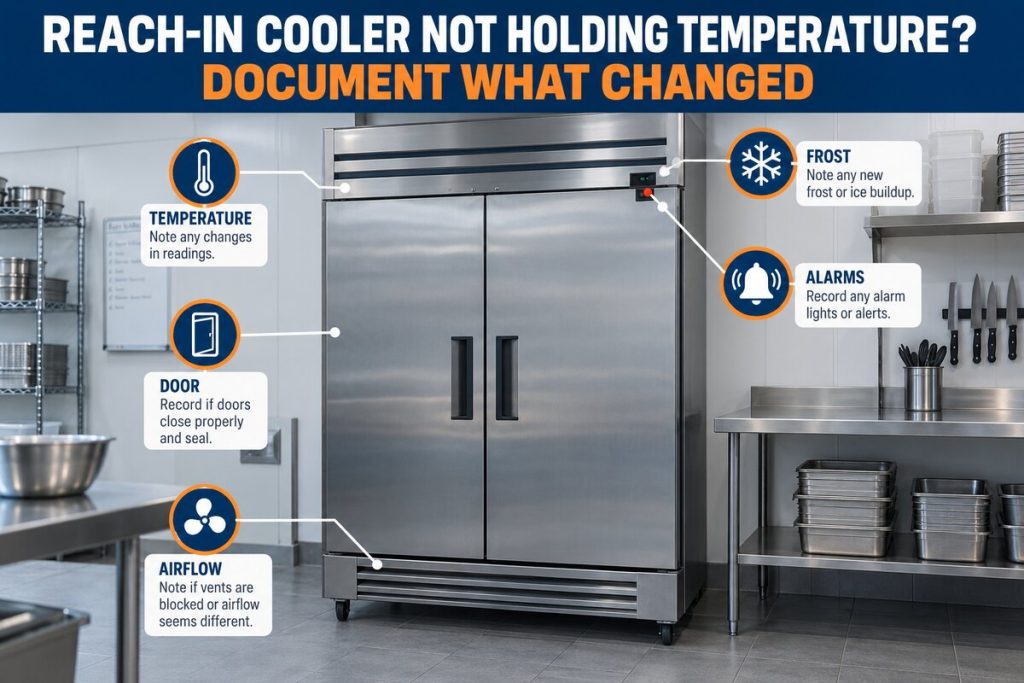
Drain problems often appear as water beneath the evaporator, ice near the line, or recurring puddles. The planning goal is to make the system drain reliably and remain accessible for inspection. Related symptoms are covered in our walk-in fridge repair guide for restaurants.
Give the Condensing Unit Room to Reject Heat
A condensing unit needs adequate intake and discharge airflow plus manufacturer-specified service clearances. Do not place it where hot discharge air will recirculate into the coil or where kitchen exhaust, grease, debris, or direct radiant heat creates an unnecessary burden. If located in an equipment room, calculate how heat will leave that space.
The technician must be able to reach coils, electrical panels, valves, fans, and the compressor without removing unrelated equipment. Poor access raises future service difficulty. Learn how compressor condition affects long-term decisions in our walk-in cooler repair versus replacement guide.
Map Delivery, Assembly, and Future Service Access
Measure more than the finished location. Confirm loading-zone access, gate and doorway widths, corridor turns, elevators, stairs, ceiling clearance, forklift restrictions, and the largest panel or equipment component. Determine where materials can be staged without blocking business operations or emergency exits.
Also plan how a compressor, fan motor, door, or coil could be removed later. A system that fits during construction may become difficult to service after counters, walls, shelving, or other equipment are installed.
Confirm Permits and Inspections Before Ordering
Permit requirements vary across Phoenix, Mesa, Chandler, Gilbert, Scottsdale, Queen Creek, Tempe, and unincorporated Maricopa County. Depending on location and scope, the project may require building, mechanical, electrical, plumbing, structural, fire, or health-department review. Changes to a roof, electrical service, floor drain, wall, or food-service layout can expand the review.
Ask the authority having jurisdiction which drawings, equipment schedules, contractor credentials, plan reviews, and inspections apply. For projects under Maricopa County jurisdiction, the county provides an online Permit Center. Do not assume that a permit rule from one Valley city applies to another.
Use a Preinstallation Coordination Checklist
- Document products, target temperature, incoming product temperature, storage volume, and growth.
- Approve internal dimensions, shelving, aisles, evaporator clearance, and usable capacity.
- Complete a refrigeration load calculation using Phoenix-area site conditions.
- Verify slab, floor, structure, ceiling height, penetrations, and fire-sprinkler conflicts.
- Approve panels, insulated floor, finishes, vapor sealing, and door configuration.
- Confirm voltage, phase, circuits, disconnects, controls, lighting, and alarms.
- Approve the condensate route, pitch, termination, and cleaning access.
- Confirm condenser airflow, heat removal, weather protection, and service clearances.
- Measure delivery, assembly, and future component-replacement access.
- Identify permit responsibilities and required inspections for the exact jurisdiction.
- Schedule installation around deliveries, food storage, construction trades, and business operations.
- Define startup, commissioning, staff orientation, documentation, and maintenance.
After startup, keep model and serial numbers, approved drawings, control settings, warranties, commissioning readings, and service contacts together. A planned commercial refrigeration maintenance schedule helps protect the new installation, while prompt evaluation of a walk-in cooler that is not cooling can limit inventory risk.
Plan a Walk-In Cooler That Fits the Site and the Operation
The best installation is not simply the largest box that fits the room. It is a coordinated system sized for product load, door traffic, Arizona heat, workflow, utilities, drainage, ventilation, compliance, and future service. Early planning reduces redesign and gives each trade the information needed before the project reaches the field.
Discount AC & Refrigeration provides commercial refrigeration installation in Arizona and services walk-in coolers and freezers across Phoenix Metro and the East Valley. Businesses can also contact our refrigeration team to discuss a planned project.
Frequently Asked Questions
How do I determine the right walk-in cooler size?
Start with product volume, delivery frequency, incoming product temperature, shelving, aisle space, airflow clearance, door traffic, and expected growth. Outside dimensions alone do not show usable storage or refrigeration capacity.
Why is a refrigeration load calculation necessary?
It accounts for heat through the enclosure, warm products, door openings, people, lights, fan motors, and local ambient conditions. This helps match the refrigeration system to the actual operation.
Does Phoenix heat affect walk-in cooler installation?
Yes. Outdoor and poorly ventilated condenser locations can face high ambient temperatures and solar exposure. Equipment selection, airflow, shading, and clearances must reflect the real site conditions and manufacturer limits.
Can a walk-in cooler be installed outdoors?
Some systems are designed for outdoor use, but the plan must address weather-rated construction, roof or membrane details, drainage, wind, sun exposure, penetrations, equipment protection, and local approvals.
What electrical information is needed before installation?
Confirm voltage, phase, amperage, circuit and disconnect requirements for the condensing unit, evaporator, lighting, controls, heaters, alarms, and accessories. A qualified electrical professional should verify available capacity.
Where should the condensate drain go?
The route depends on the evaporator and local plumbing and sanitation requirements. It needs appropriate pitch, termination, access, and any required trap or freeze protection. It should not create a slip or contamination hazard.
How much clearance does a condensing unit need?
Use the equipment manufacturer’s intake, discharge, and service-clearance requirements. The final location must also prevent hot-air recirculation and allow technicians to reach major components.
Are permits required for a walk-in cooler in Phoenix Metro?
Requirements vary by city, county jurisdiction, and scope. Building, mechanical, electrical, plumbing, structural, fire, or health review may apply. Confirm the exact requirements with the authority having jurisdiction before ordering equipment.
What should be checked before panels are delivered?
Verify final dimensions, floor level, overhead conflicts, door swing, penetrations, electrical and drain locations, equipment clearances, delivery path, staging space, and permit status.
What happens during startup and commissioning?
The installing team should verify controls, temperatures, airflow, defrost operation where applicable, drain performance, door operation, electrical readings, refrigerant-system performance, alarms, and system documentation.
Planning a Walk-In Cooler Installation in Phoenix Metro?
Discuss sizing, site conditions, refrigeration equipment, access, drainage, ventilation, and installation coordination with Discount AC & Refrigeration.
Call (480) 478-2616